Available now!
Create interactiveinfographicsin SharePoint
Add interactivity to any image in SharePoint Online.
Full version:
Available now!
Create interactiveinfographicsin SharePoint
Add interactivity to any image in SharePoint Online.
Full version:
1) Simply ad our app to your SharePoint site
2) Upload any image of your choice to the web app
3) Add relevant links to make your graphic interactive
You can link to anything you like. It’s super easy and takes just a couple of minutes.
1) Simply ad our app to your SharePoint site
2) Upload any image of your choice to the web app
3) Add relevant links to make your graphic interactive
You can link to anything you like. It’s super easy and takes just a couple of minutes.
After the infographic app is installed in the App Catalogue of your SharePoint site the functionality to create
interactive graphics can be made available at any part of your site and by any users you grand the rights to do so.
After the infographic app is installed in the App Catalogue of your SharePoint site the functionality to create interactive graphics can be made available at any part of your site and by any users you grand the rights to do so.
Improve communication and enhance your story telling
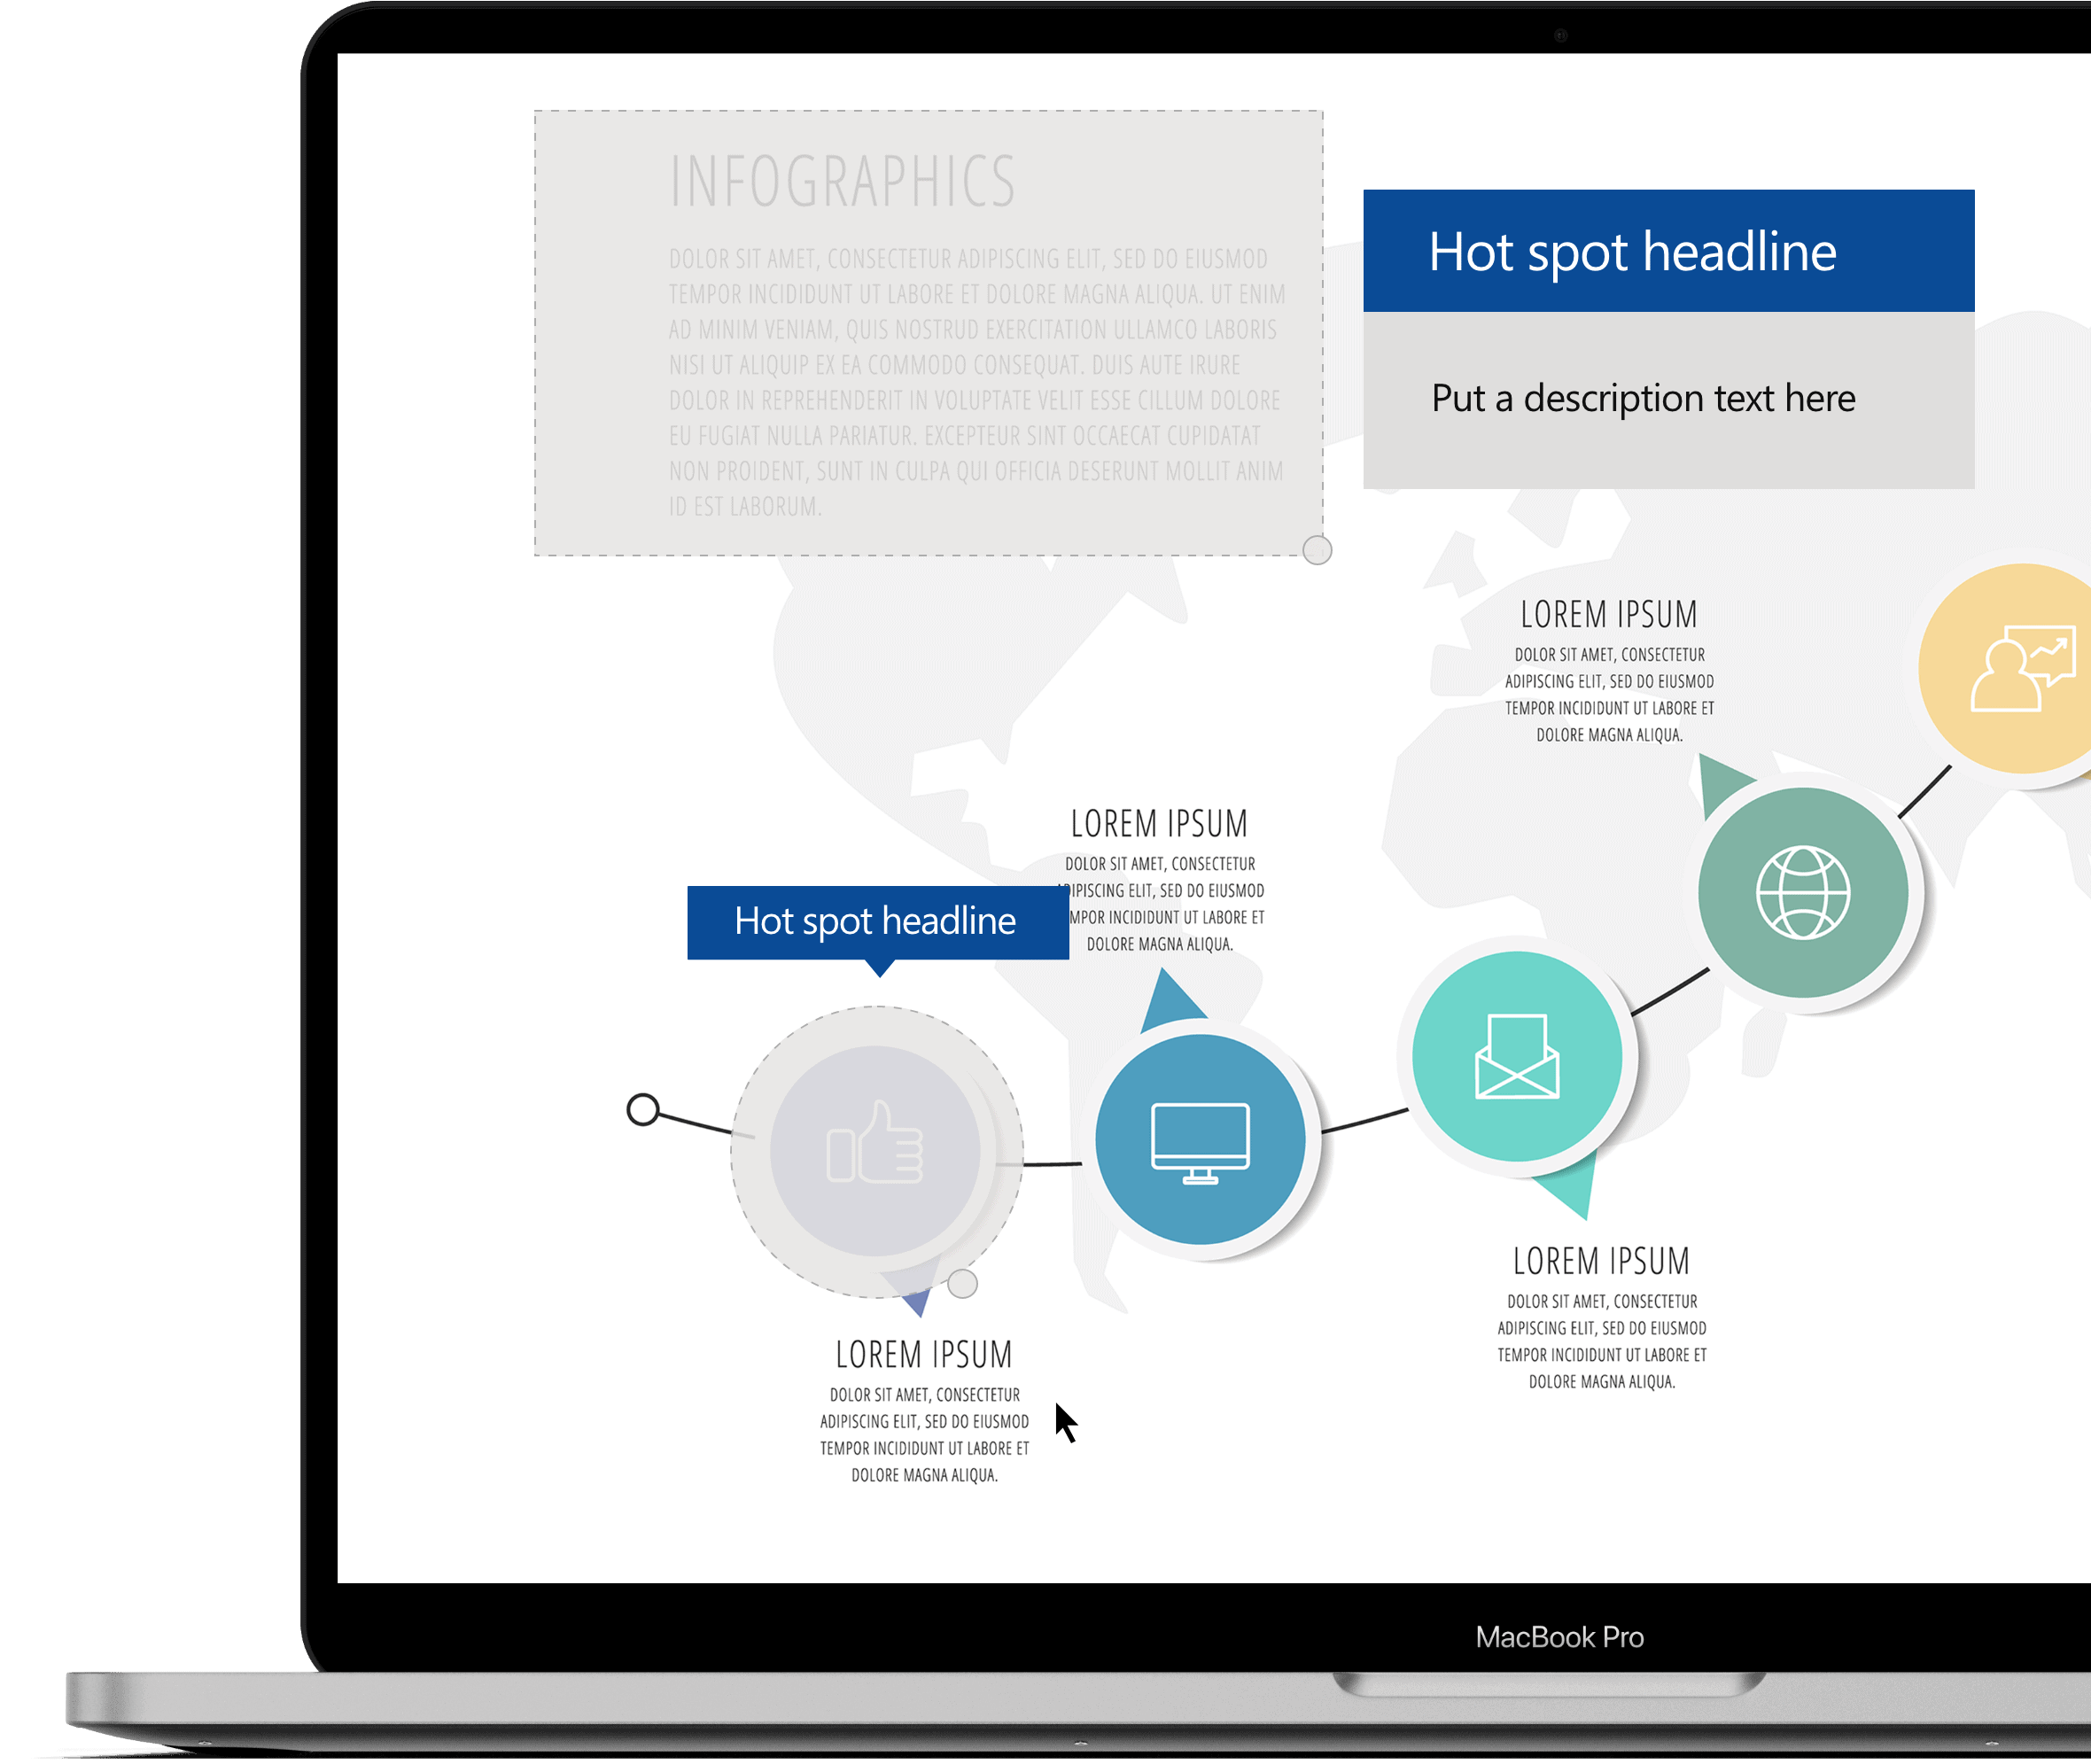
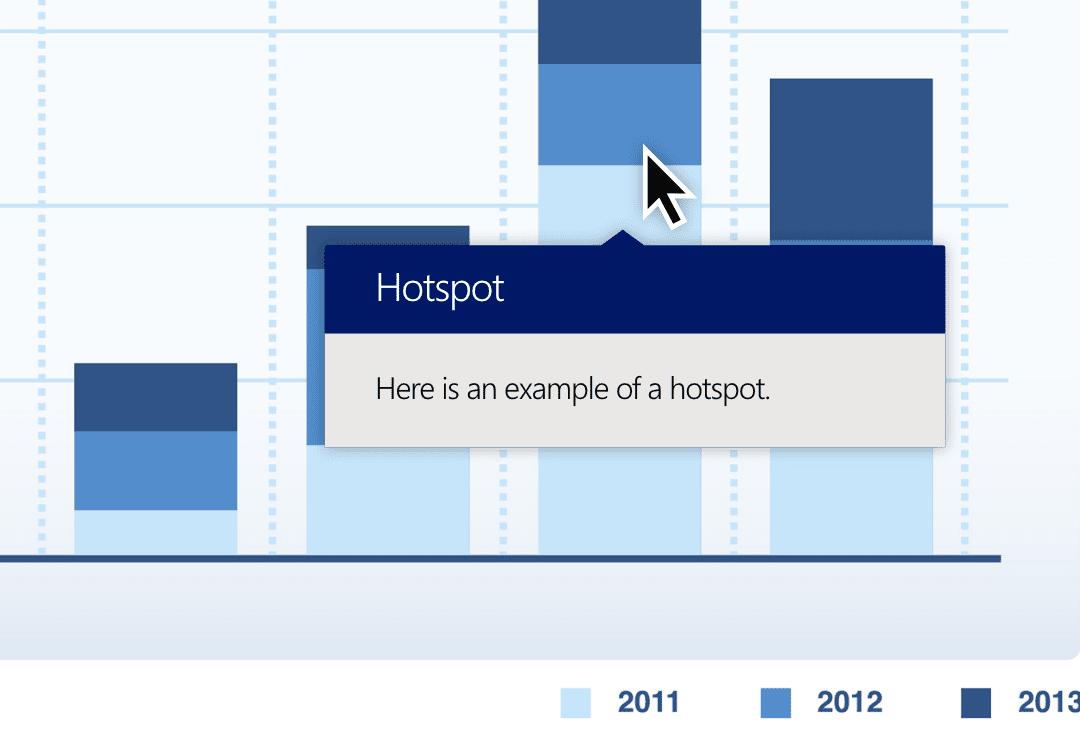
A picture is worth more than a thousand words. But this is even more the case if you can also add pop ups, words and links to it. With the hotspots web app you can add clickable hotspots to any part of an image bringing your infographics to life, providing information both when the user click or mouse moves over specific parts of the image.
A plain illustration becomes a user interface, linking to any source or functionality you like. You can add interactive text labels, allowing users to click on sales charts and dive down into the numbers. You can even guide people through the steps of a process or engage users with links to videos or map locations.
How it works
• Before you start you need to have the SharePoint Infographic web app installed in the app catalogue of your SharePoint site before you can add and use the web app on a SharePoint page.
• Open the page in edit mode and add an image from the ‘Image’ field in the property pane.
• To add a hotspot, click the ‘add hotspot button’. You can now move the hotspot into position by clicking and dragging. You can also reshape any hotspot by clicking, holding and changing the shape.
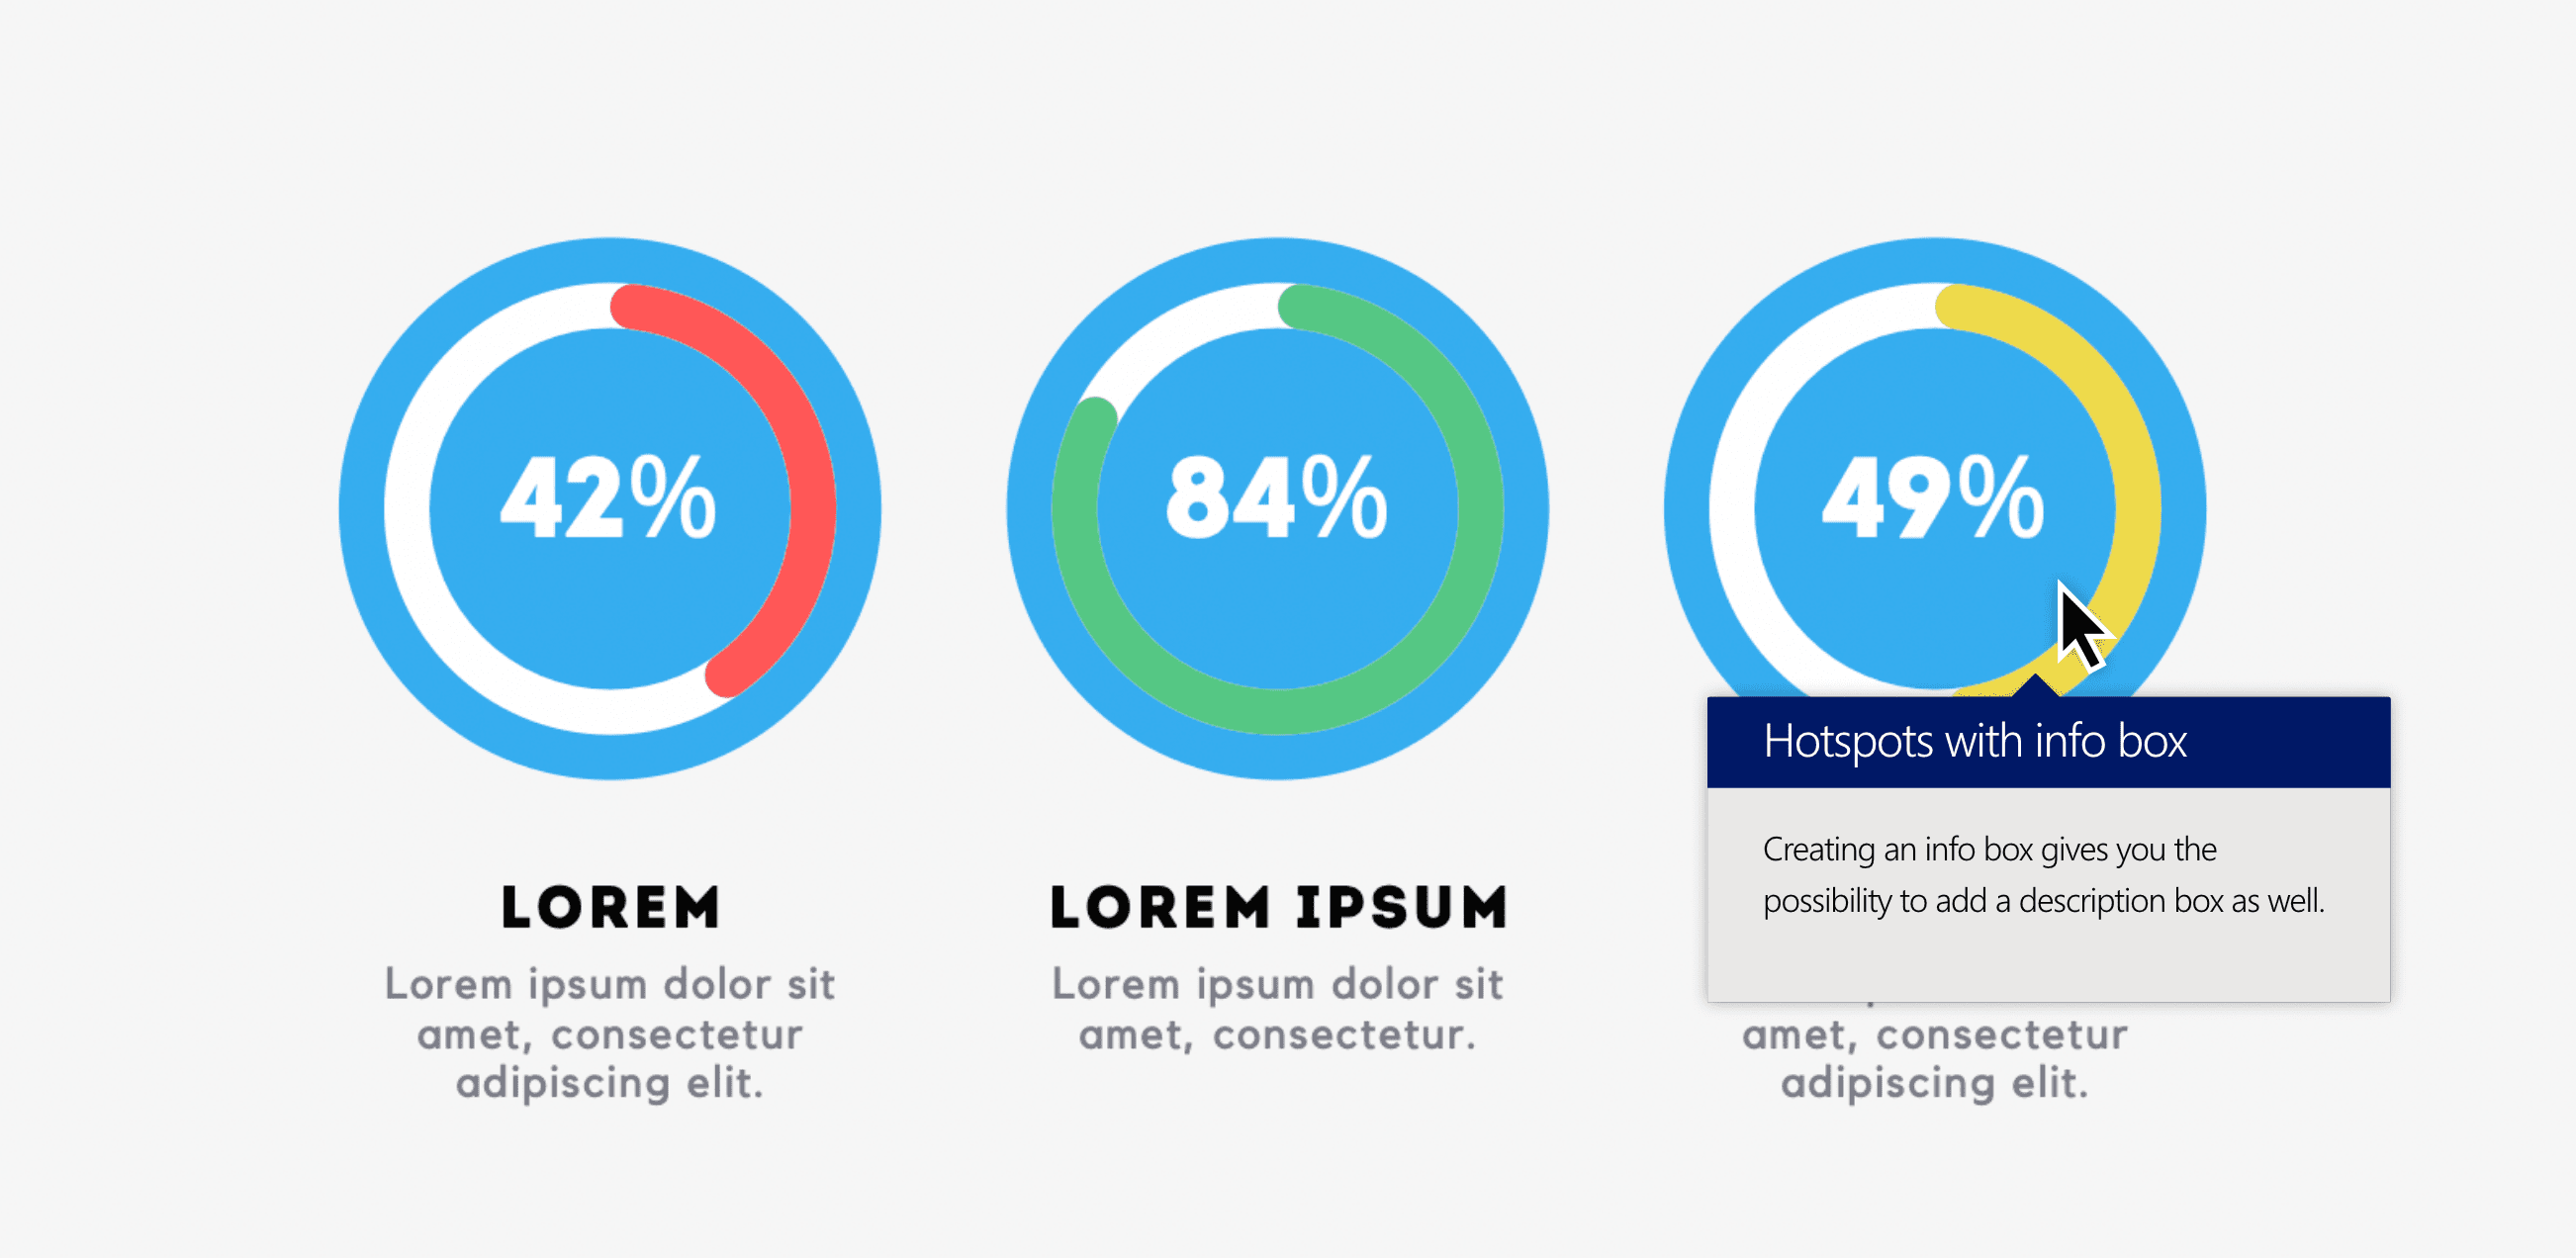
• A hotspot can be configured to activate either an info box or a simple label when the mouse hovers over the area. You can also add child hot spots if you have multiple identical areas on your image that should show the same information. Furthermore, shapes can also be combined.
• Add text content and links to your hotspot in the property pane.
• Change the colours of both info boxes and labels by choosing and defining the desired appearance from the property pane.
• The position, behaviour and direction of the popup can also be changed in the property pane.

Easy installation
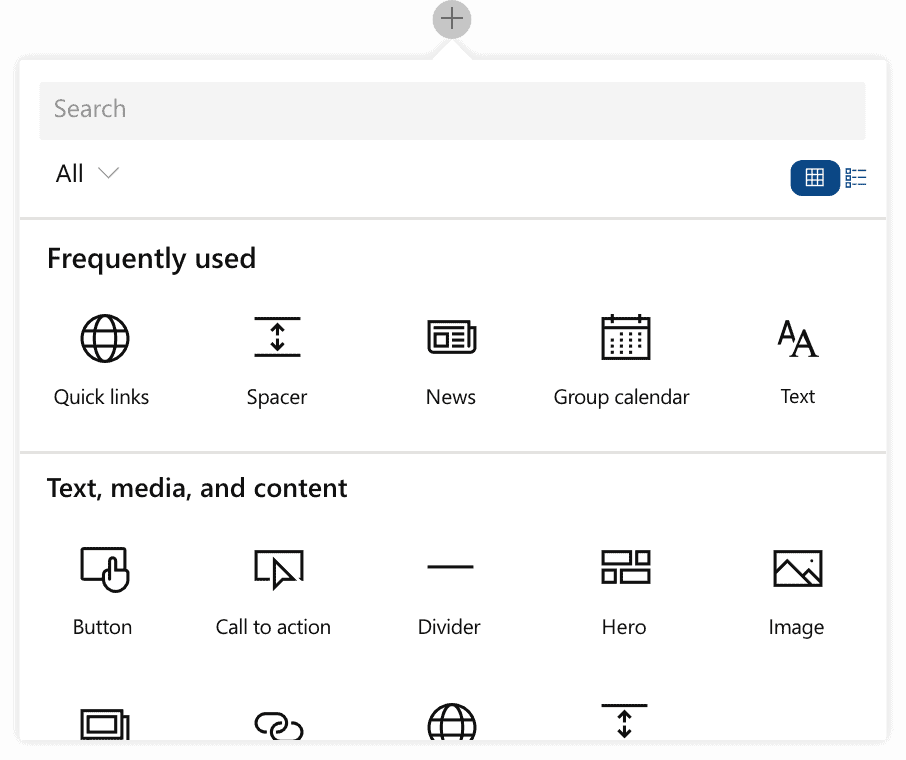
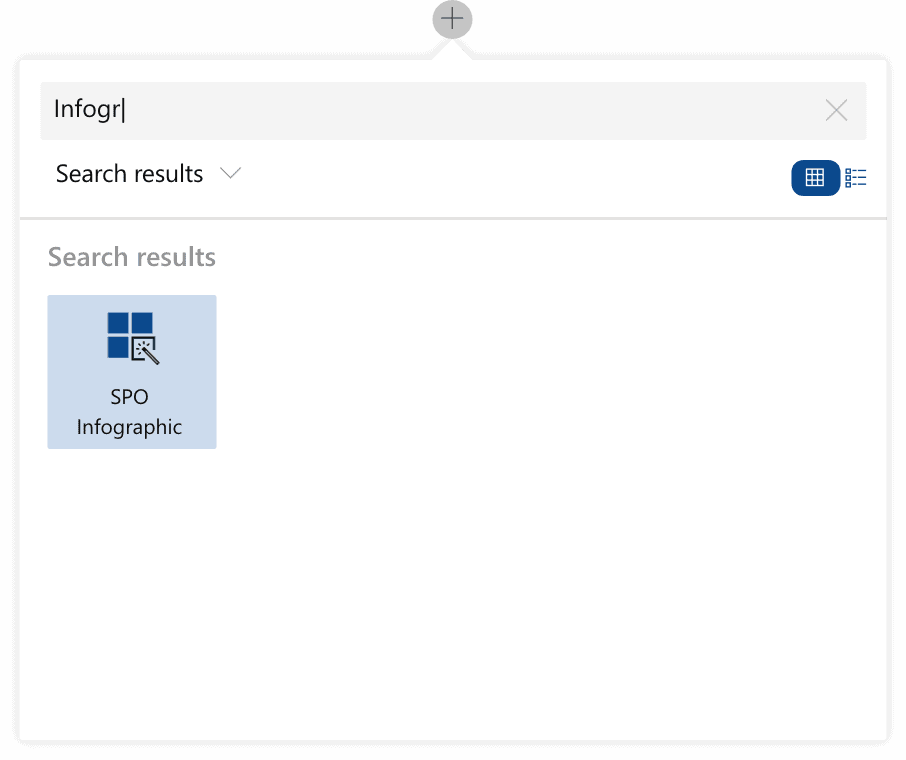
After the SharePoint Infographic web part is installed in the app catalogue of your SharePoint side, the access and approach to add the webpart to a page is just the same as adding any other web part. If you wish to customise the look and feel, colours or corners, this works from standard
SharePoint page management. No additional setup of behind-the-scenes SharePoint lists is needed. All data are stored within the web part and can be edited using the standard SharePoint property pane.
After the SharePoint Infographic web part is installed in the app catalogue of your SharePoint side, the access and approach to add the webpart to a page is just the same as adding any other web part. If you wish to customise the look and feel, colours or corners, this works from standard SharePoint page management. No additional setup of behind-the-scenes SharePoint lists is needed. All data are stored within the web part and can be edited using the standard SharePoint property pane.
